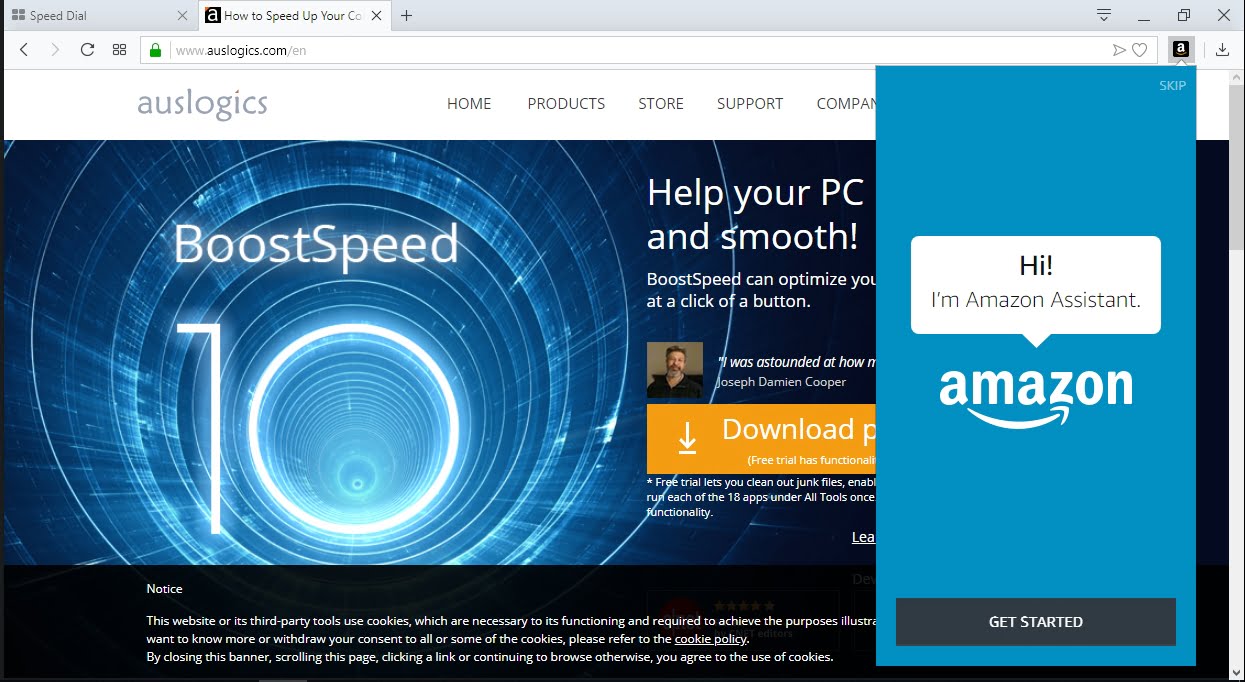
For those who love shopping online, they’d find some use with the Amazon Assistant browser extension. Users who installed it can get updated with the latest offers allowing them to compare deals and products. This also helps them make the best shopping decisions while keeping track of products they would want to purchase later.

However, some users complained about the tool displaying malware-like behavior. Most of them had made several attempts to remove Amazon Assistant, but it still got automatically installed. Here are some of the common issues that users have reported:
- Amazon Assistant aa.hta keeps showing up – One of the best ways to get rid of this problem is to boot into Safe Mode and uninstall Amazon Assistant. You can also use Auslogics Anti-Malware to prevent it from coming back. Learning how to delete Amazon Assistant from computer is easy. You just have to follow the instructions we shared in this article.
- Amazon Assistant keeps getting installed by itself – In some cases, it can be difficult to remove Amazon Assistant. It would be advisable to get rid of it, using uninstaller software.
- Amazon Assistant uninstall button graying out – Some users reported that the Amazon Assistant uninstall button is grayed out and cannot be clicked. The workaround for this issue is to use the Change button.
If you want to learn how to get rid of Amazon Assistant permanently, make sure you try our methods below. These solutions work best on Windows 10, but they can also apply to older systems like Windows 8.1 8, and 7.
Method 1: Killing the startup process
It is worth noting that we have applications that automatically start on our computer, and Amazon Assistant is one of them. This is also the reason why it would be ideal to remove the program from the startup section. Some users have tried this method and they were able to get rid of Amazon Assistant permanently. That said, just follow the instructions below:
- Launch Task Manager by pressing Ctrl+Shift+Esc on your keyboard.
- Once Task Manager is up, go to the Startup tab. Look for the Amazon entries. Right-click each of them, then select Disable from the list. You would have to disable the entries one at a time.
- Once you’ve disabled all the Amazon entries, exit Task Manager.
You can now proceed to the next method to permanently remove Amazon Assistant.
Method 2: Uninstalling the application
Learning how to delete Amazon Assistant from computer is the simplest way to deal with the issue. Just follow the instructions below:
- On your keyboard, press Windows Key+S.
- Type “control panel” no quotes, then hit Enter.
- Once Control Panel is up, go to Programs, then click Programs and Features.
- You will see a list of all the installed applications on your computer.
- Look for Amazon Assistant, then double-click it.
- Follow the on-screen instructions to remove the application.
The other option for removing this application is using the Settings app. Simply follow the steps below:
- Press Windows Key+I on your keyboard. This should open the Settings app.
- Go to Apps.
- Look for Amazon Assistant from the list of installed applications.
- Click Uninstall.
- Once you’ve removed the application, check if the issue has been resolved.
Method 3: Using Auslogics Anti-Malware
Some users reported that Amazon Assistant aa.hta kept on appearing on their computer after every attempt to uninstall the application. While Amazon Assistant is a legitimate program, it can act as a hijacker that can make unwanted browser changes like adding new toolbars, modifying the Internet settings, and causing page redirects, among other issues.
It can be frustrating to deal with modifications that you did not give consent to in the first place. Thankfully, in most cases, browser hijackers can be removed, using a reliable tool like Auslogics Anti-Malware. With a click of a button, this program will deeply scan your system and even your browser extensions. It will remove or quarantine malicious applications. What’s more, it is designed not to conflict with your main anti-virus.

Method 4: Performing a system restore
The great thing about a system restore is that it allows you to return your system to a previous restore point where it is functioning properly. You will be able to undo the changes you made on your system. This also means that all the updates and programs you installed after the restore point you chose will be deleted. Here are the steps in performing a system restore:
- Click the Search icon on your taskbar.
- Type “system restore” (no quotes), then choose Create a Restore Point from the results.
- Once the System Properties window shows up, click System Restore.
- You will now see the System Restore window. Click Next.
- If the option is available, check Show More Restore Points.
- Select your preferred restore point, then click Next.

- Follow the on-screen instructions, then complete the restore process.
After following the steps above, check if you’ve removed the Amazon Assistant issue.
Did our methods work for you?
Let us know the results in the comments below!


