You can easily find duplicate photos and remove them if you notice early on that they are becoming too much. However, since they are harmless and a few megabytes are nothing compared to a 500GB or 1TB hard drive, we tend to ignore them.
I take screenshots a lot as a tech writer, and I felt the same way until these 500KB images piled up over the years. Combined with other large files on my PC, it eventually became a chore to find the originals.
I’ll admit, I was negligent, and you’re probably in the same boat as me. I’m not here to judge. Instead, I’ve found effective ways on how to delete duplicate photos, and I’m here to share them with you.
Let’s begin.
A Few Reasons Why You Should Remove Duplicate Photos
Below are some common reasons why you need to remove duplicate photos on your Windows PC:
- Save your storage space. Too many duplicate photos take up a lot of space on your hard drive. The more you ignore them, the more your system gets littered with them.
- Organize your photo library. Deleting duplicate photos makes it easy to find images and organize them. And this can save you time.
- Improve your PC performance. Cluttered storage tends to slow down PCs.
If you want to take control of your storage space, make it easy to manage your photos, and overall improve your computer performance, carefully go through the next section. I’ll show you ways to achieve these advantages.
How to Find Duplicate Photos and Delete Them on Windows 10/11
In this section, I’ll walk you through ways to find duplicate photos and delete them, starting from the easiest to the more techy method:
Method 1: Remove duplicate photos automatically
If you don’t want to waste time, you can use a PC optimizer with a duplicate photo finder that is reliable, accurate, and gets the job done, like Auslogics BoostSpeed.
This tool has a Duplicate File Finder, and it helps you to free up space on your drive by using a special algorithm to look for duplicate photos that are exactly the same.
Besides duplicate images, this utility can also remove duplicate files of all types, whether it’s videos, audios, apps, and more.
It uninstalls programs together with their leftover files, speeds up your system, gets rid of temporary files, old Windows Update files, and many more!
Now, let’s find out how this duplicate file finder really works:
- Download and install Auslogics BoostSpeed from the official website. This should take a few minutes to complete.
- Launch BoostSpeed, and then go to the All Tools tab. Find the option labeled Duplicate File Finder and click on it.

- When the window opens, check the Images box and select Search. The tool will use its default settings to find duplicate photos and delete them.

The EXIF tags are simply embedded metadata in your image files, which includes information like the time a photo was taken, time and date, etc. The ID3 does the same thing but for audio files.
- However, if you want to go into more details, click on Next. Here, you can choose the file sizes you want to ignore. After that, you can click Next.

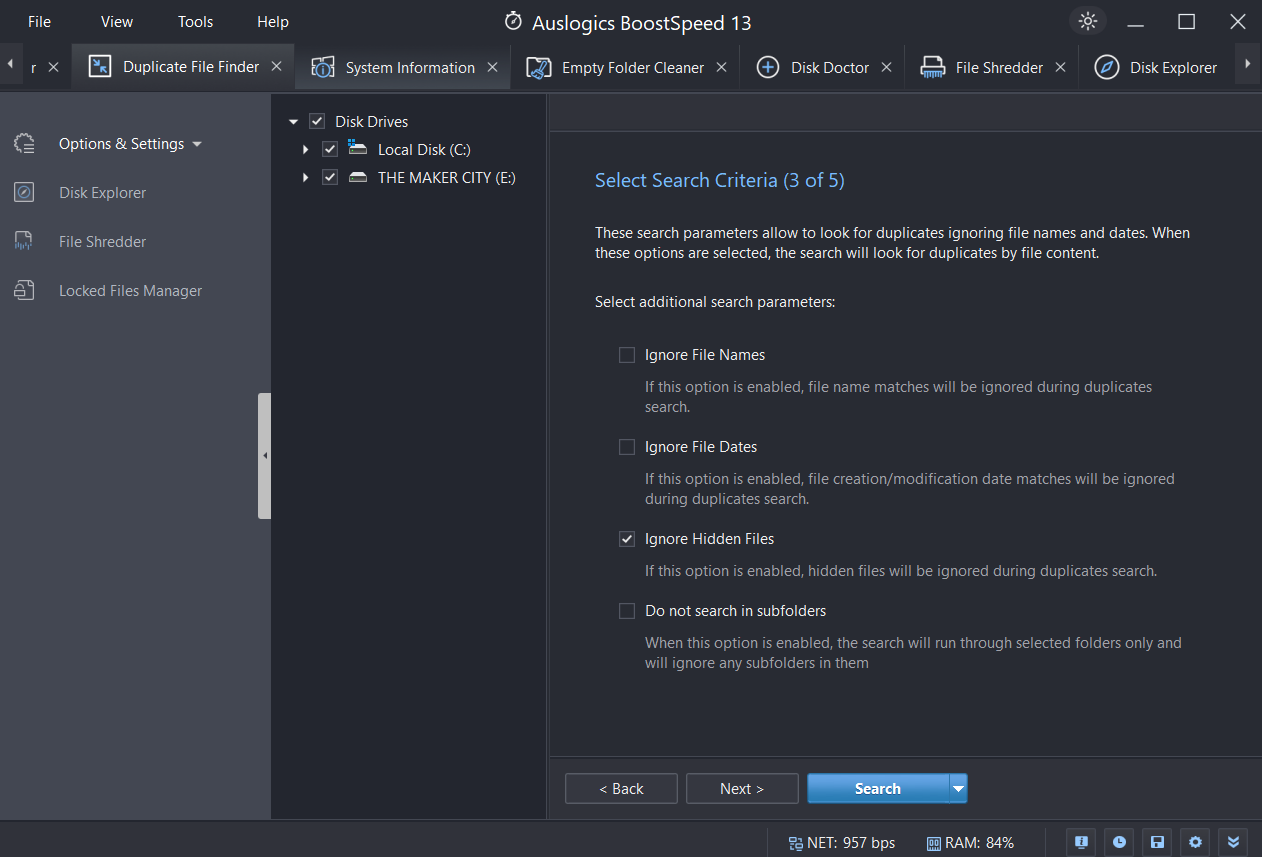
- The next search parameters allow you to search for duplicate photos while ignoring file names and dates. It’ll only search the file contents. In other words, you can ignore hidden files or even subfolders. Select Next.

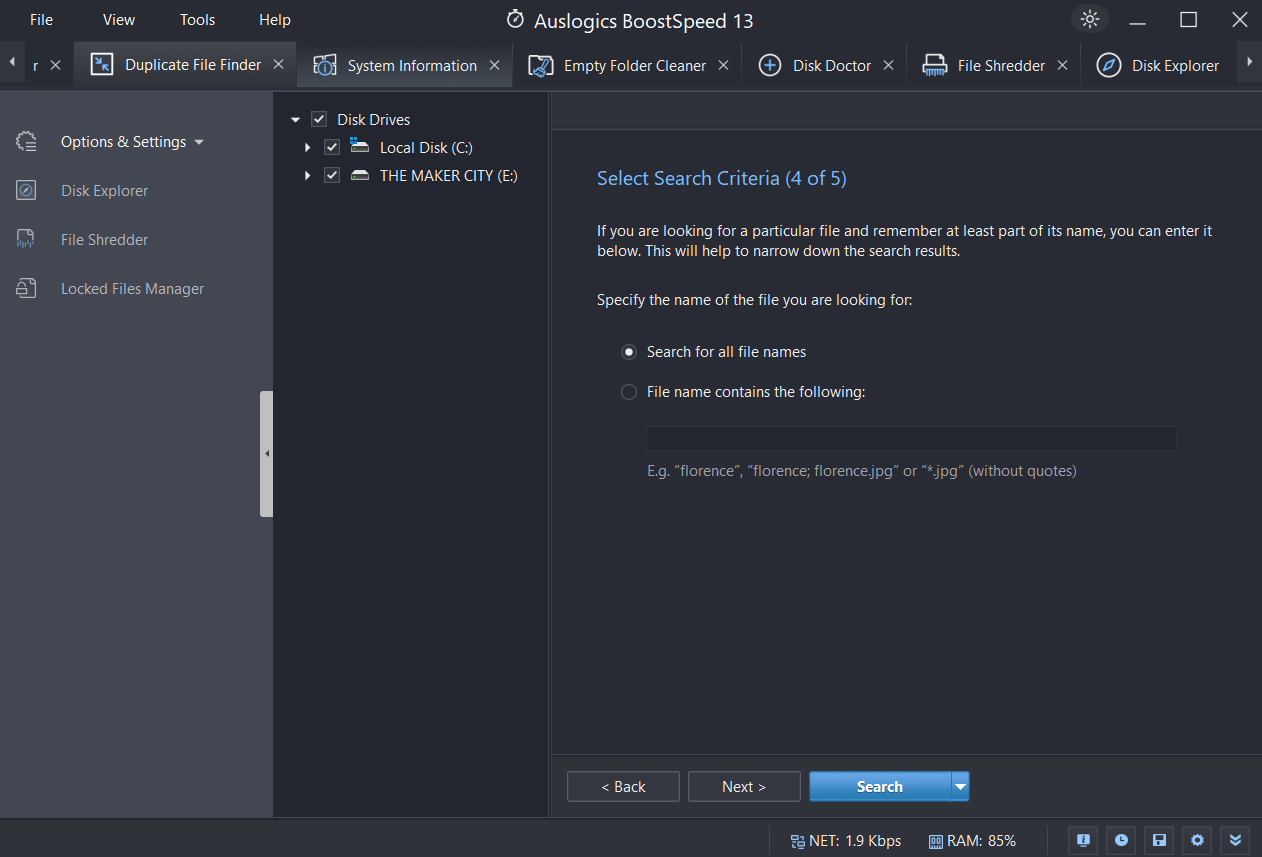
- This option helps if you’re searching for a specific file but can’t remember the name. You can enter the part you remember, and BoostSpeed will take care of the rest.

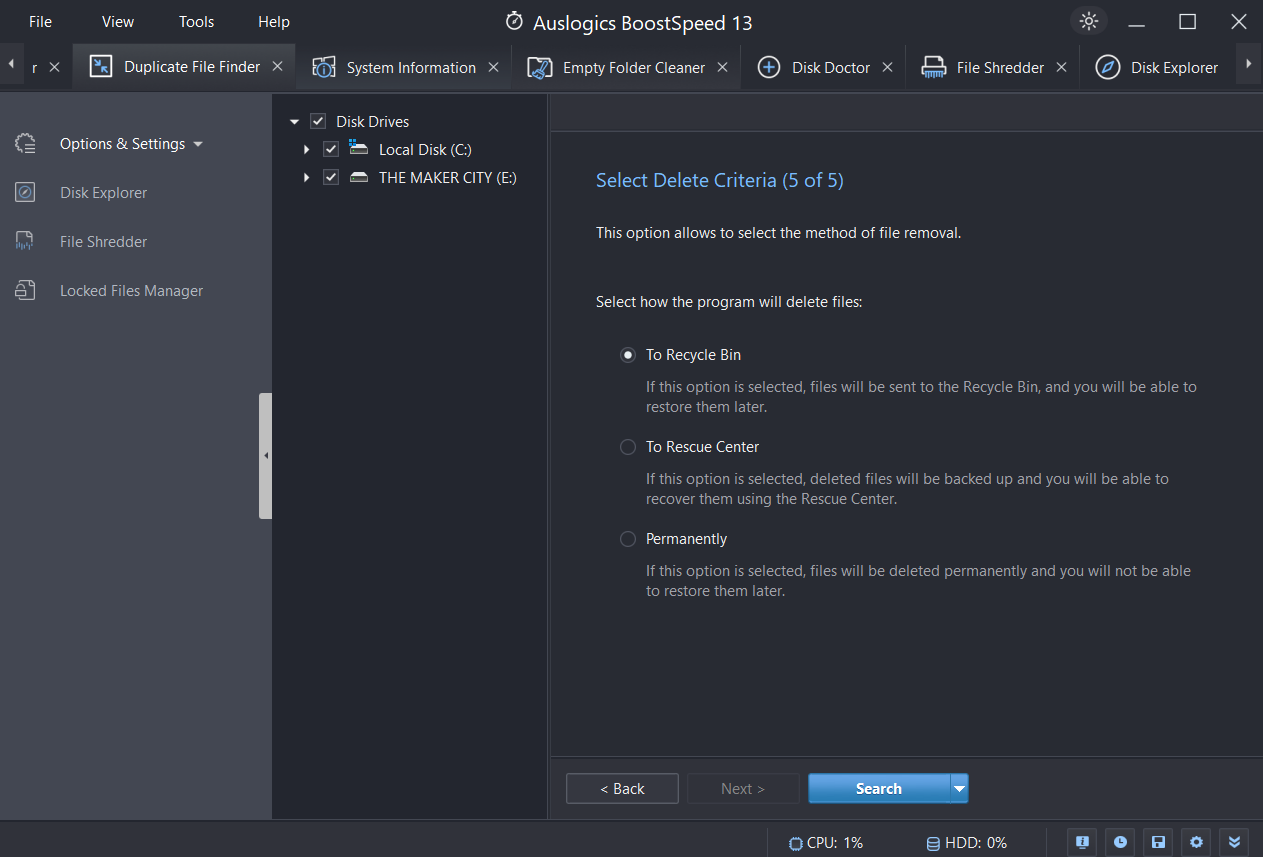
- Lastly, you determine where the duplicated photos go, whether to the Recycle Bin, Rescue Center to retrieve them later, or permanently delete them. When you’re done, click on Search to start the scan.

As a bonus tip, you can use the BoostSpeed feature called File Shredder to delete files in the Recycle Bin beyond recovery. That way, no one can restore sensitive information you don’t want lingering around. This adds extra security for your data.
Method 2: Use File Explorer to find duplicate photos
You can also use File Explorer to search for duplicates on your computer.
Follow these steps on how to get rid of duplicate photos on your Windows PC:
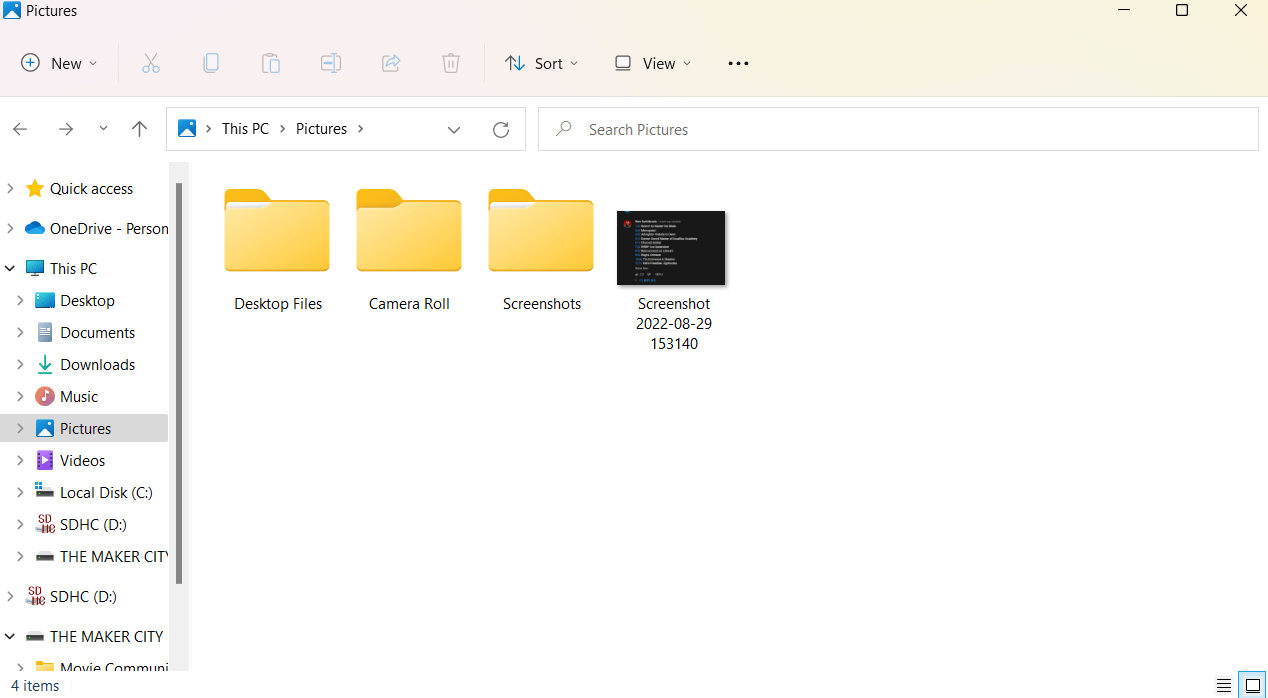
- Open your File Explorer by pressing
Windows key + Eon your keyboard. - Open the folder where your images are kept.

- Click on the search bar and look for image file types, such as .jpg, .png, .jpeg, .tiff, etc. This option will filter the search results only to show specific results according to the type of files.

When the search results appear, you can sort them by file size. Just select the View option and then click on the Details view.

- You can select duplicate photos and delete them.
However, if there are many, this will surely waste your time. To save you the trouble, you can use Auslogics BoostSpeed and its Duplicate File Finder feature to make the job easier.
Method 3: Use the Windows Photos app
Follow the below steps on how to delete duplicate photos from your system using the Photos app:
- Type “Photos” in the search bar and select the Photo app.
- Photos are automatically organized by date. You can sort them by file name or size using the Sort by drop-down menu.

- Browse your photo library and check the boxes next to each duplicate photo you want to delete. Hold down the Ctrl key and click on multiple images to select them all at once.
- Right-click on the selected photos and click Delete.
Helpful Tips to Reduce Duplicate Photos on Your Windows PC
Here are some tips to reduce the amount of duplicate photos on your PC:
- Be cautious when transferring photos manually. Try to avoid copying photos multiple times when moving them between folders or devices. This is one of the fastest ways to create duplicates.
- Organize the photos in your folders. Create specific folders for different tasks, dates, or events. It’s a simple habit, but it can reduce the possibility of saving the same images in different locations.
- Search for duplicates by file name. Usually, duplicate photos have the same file names. So, you can safely delete them without any issues.
- Check photos with unusually long names. Photos with long or complex names sometimes indicate multiple versions of the same images. They are often created by editing or automatic backups. As a caution, review these files before deleting them.
How to Delete Duplicate Photos: Explained
Now, you know how to delete duplicate photos on your Windows PC. However, some of the options are not really the best, especially if you have tons of duplicate images.
You can use one of thefree duplicate photo finders to speed up the process. Let us know what you think. Was Auslogics BoostSpeed’s Duplicate File Finder helpful? Share your comments!


![[Easy and Free] How to Delete Duplicate Photos on Windows 10 and 11 in Seconds](https://www.auslogics.com/en/articles/wp-content/uploads/2024/09/How-to-Delete-Duplicate-Photos-on-Windows-10-and-11-in-Seconds.png)