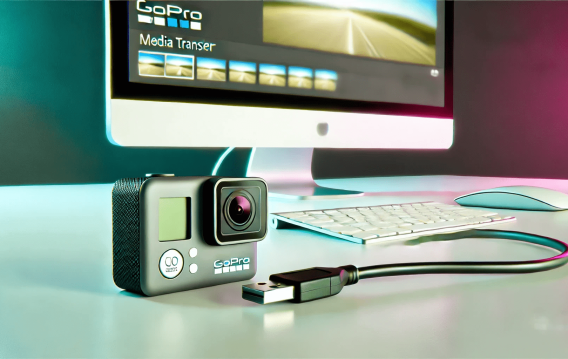
You’re in the right place if you want to know how to connect GoPro to a computer.
You have a few options, whether you’re clearing some space on your GoPro or sharing your most recent adventure.
We’ll walk you through five useful methods to transfer your GoPro videos to your computer in this article.
How to Connect GoPro to Computer
If you want to know how to get videos from GoPro to a computer, follow the methods below:
Method 1: Manually connect GoPro with a USB cable
One of the easiest and best ways to connect GoPro to your computer is manually through a USB cable. Here’s how to do it:
- Connect the USB cable to the GoPro camera and PC.
- Turn your GoPro camera on.
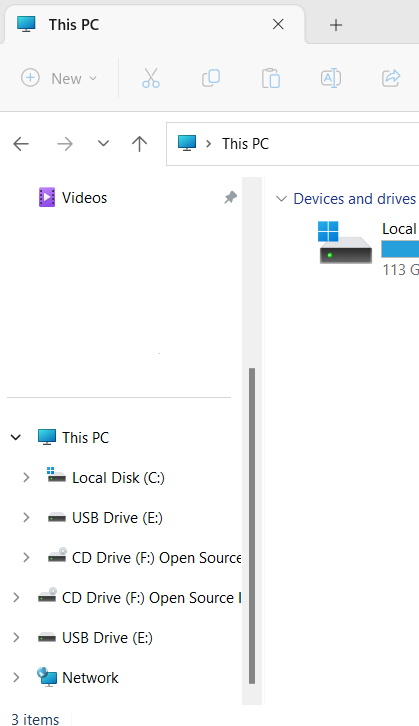
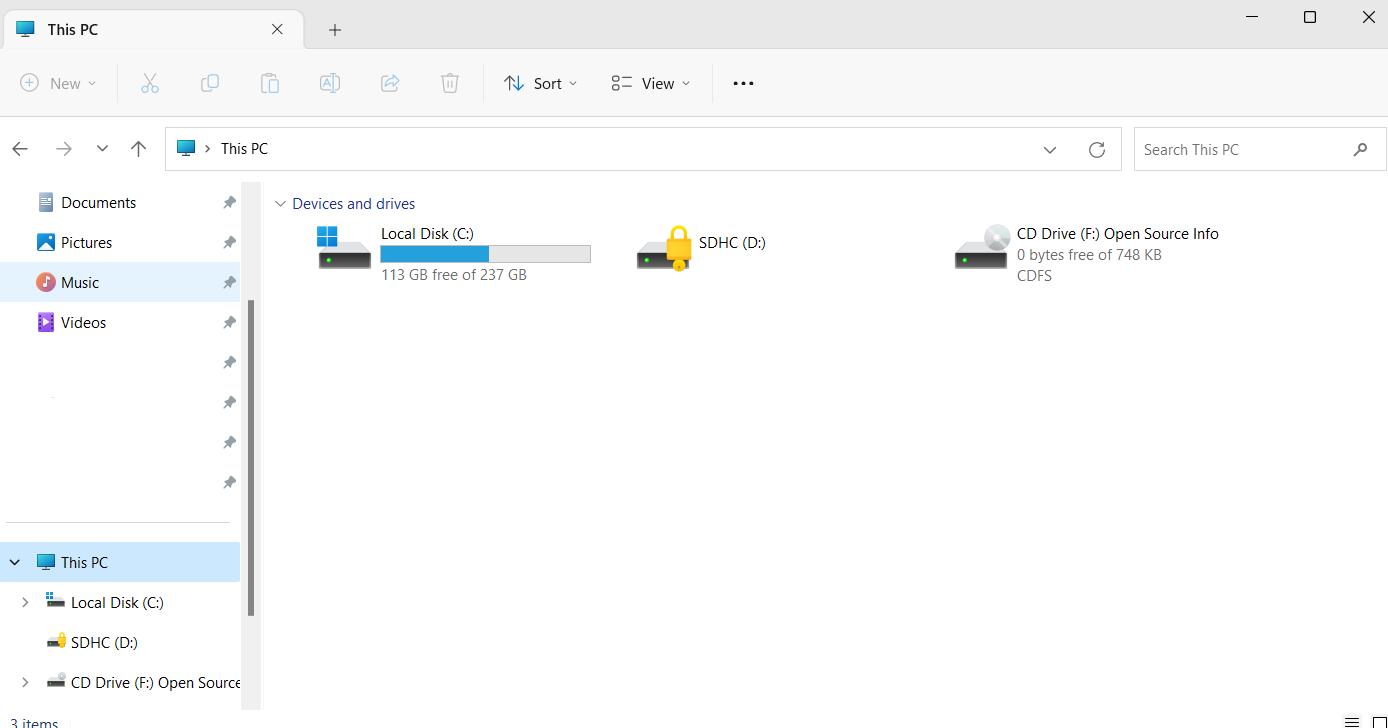
- Go to This PC on the left sidebar, and you’ll see the camera under the listed devices.
- Double-click on it to access your files.
- If you want to know how to transfer GoPro videos to a PC, drag and drop or copy-paste them from your camera to your preferred PC location.
Related: How to speed up USB 3.0 transfer speed in Windows 10?
Method 2: Use the auto launch/autoplay feature
If you want to know how to transfer videos from GoPro to a computer, use the AutoPlay feature.
Your Windows computer has an AutoPlay feature that lets you choose what to do with a device once you connect it.
That way, you don’t have to open File Explorer to locate the GoPro device directly.
Here’s how this method works:
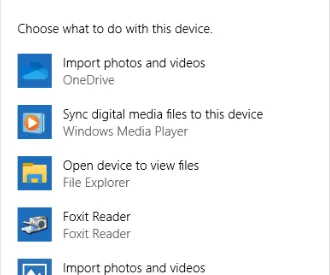
- Connect your GoPro camera to your PC using a USB cable.
- You’ll see a pop-up on the left side of the screen. Choose the Open device to view files option when it appears.
Windows will automatically connect the GoPro, enabling you to download GoPro videos to the PC.
If the AutoPlay feature doesn’t work on your device, use these steps to enable it:
- Open your Windows Start menu by pressing the
Windows button.
- Click on the Settings icon, then select Devices.
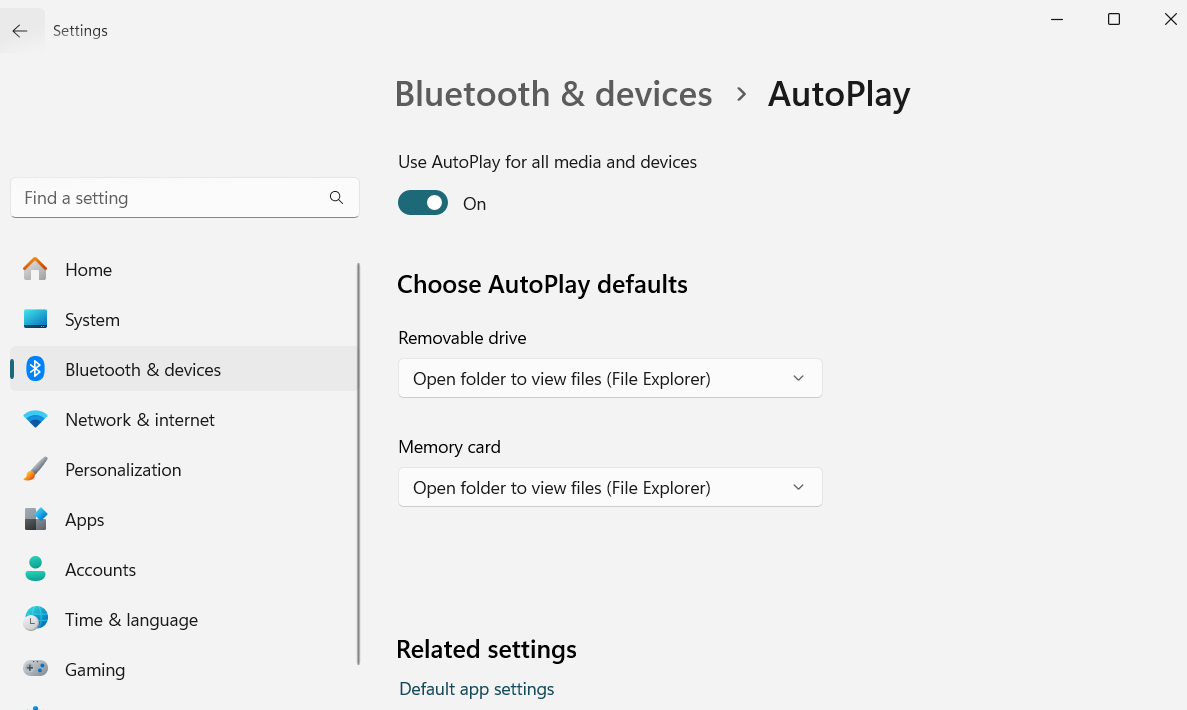
- Choose AutoPlay on the left menu pane.
You’ll see the AutoPlay option on the right side of the window. Use the toggle button under it to enable AutoPlay.
You can use this method if you want to know how to connect GoPro to a computer.
Related: What is Camera Roll and How to Manage Saved Pictures?
Method 3: Use an SD card reader
Another way to learn how to download GoPro videos to a PC is to use an SD card reader.
An SD card reader allows you to access all the files on your GoPro without manually connecting the camera to your machine.
Follow these simple steps:
- Remove the microSD card from your camera.
- Insert it into a USB card reader or SD card adapter and let your PC map the drivers to recognize the external storage drive. If the drive isn’t automatically recognized, press the
Windows key + E combination to open File Explorer.
- Navigate to the SD card adapter.
- Open the DCIM folder to access your files. You can then copy-paste them from the SD card to your computer.
That’s how to transfer videos from GoPro to a computer.
Also Read: How to Transfer Data from the Old Laptop to a New One?
Method 4: Use the GoPro Quik app
GoPro Quik is a recommendable program that organizes and edits GoPro files. Here are the steps for connecting GoPro to a PC using the Quik application:
- Connect the GoPro camera to your computer via a USB cable.
- Launch the Quick software on your PC and allow it to detect recent GoPro camera footage automatically.
- Choose the files you’d wish to transfer and import them to your computer.
That’s how to get videos from GoPro to a computer using the GoPro Quik app.
Also Read: Best Ways to Transfer Files to a Windows 11 Computer
Method 5: Connect your laptop to the GoPro’s Wi-Fi network
One of the great things about GoPro is it creates its own Wi-Fi hotspot. This method will show you how to connect GoPro to a wireless computer using its hotspot.
You can use it to connect the device to your laptop, tablet, or smartphone. Here are the steps:
- Switch your GoPro camera on, then set it to Wireless Mode.
- Now, go to your laptop and click the Wi-Fi icon on your taskbar.
- Select your GoPro’s Wi-Fi network, then click Connect. If the network is password-protected, submit the appropriate information.
Related: How to resolve Camera app error 0xA00F4288 on Windows?
Conclusion
Understanding how to connect GoPro to a computer is a useful skill. You have several options, ranging from a USB cord to wireless connectivity and specific software like GoPro Quik.
You can quickly download your GoPro video to your PC using the manual method, the AutoPlay function, an SD card reader, the GoPro Quik software, or even GoPro’s own Wi-Fi network.
With the knowledge you’ve received from this guide, get ready to share and enjoy your trips with the world!
FAQ
First, make sure your GoPro is turned on. Next, make sure you’ve used the included USB cable to connect it to your computer. Try using other USB ports on your computer or a new port.
Try another USB cable, if you have one, in case the first one still doesn’t work. Also, rebooting your computer can sometimes fix the problem.
Yes. You can make video calls using your GoPro as a webcam. You’ll need to download apps or specific software designed for this purpose.
OBS Studio and the official GoPro Webcam Windows software are popular options. Install the selected software on your PC and then follow the steps to set up GoPro as a webcam.
Yes. You’ll need specific software to edit your GoPro video on your computer. GoPro provides its editing software, GoPro Studio or GoPro Quik, which are easy to use.
You can use software like Adobe Premiere for more complex video editing.
Yes. You can use your computer to charge your GoPro. But remember that this process usually takes longer than a dedicated power charger.
Use the USB cable that came with the GoPro to connect to your computer. When it’s connected, your GoPro should begin charging.