Many will say that activating Windows 10 has always been easy. However, reactivating it after a hardware change is a different story.
Thankfully, after the Windows 10 Anniversary Update, your product key is no longer solely attached to your hardware. The great news is that you can link it to your Microsoft account.
With this improvement, you can reactivate your operating system without the need to contact Microsoft. Whether you’re replacing the processor, motherboard, or hard drive, OS reactivation has become easier.
However, if you’re using a local user account, you would have to submit your product key to your Microsoft account manually.
How to Link a Windows License to a Microsoft Account
Of course, to do so, you need to have a Microsoft account already set up. Signing up for one is free on Microsoft’s official website. Once you’ve created an account, log into Windows as you normally would. After doing that, follow the steps below:
- On your keyboard, press
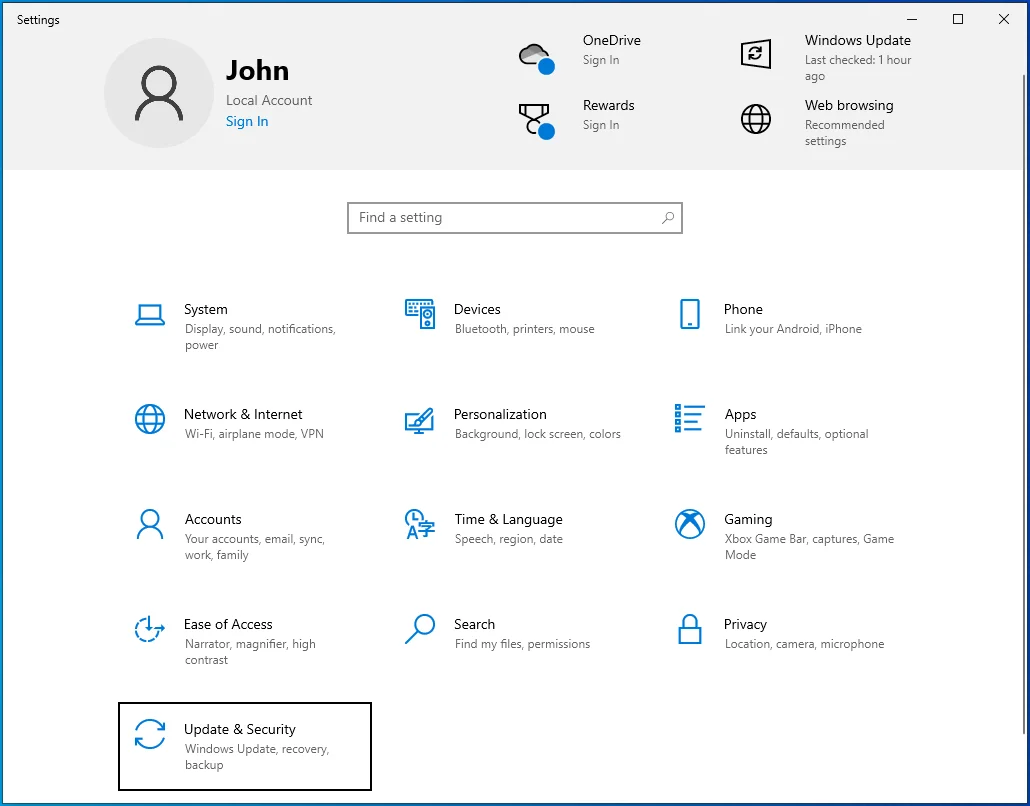
Windows key + I. Doing so will launch the Settings app. - Once the Settings app is open, select Update & Security.
- Now, go to the left-pane menu and click Activation.
You will see some information about your Windows edition. You will also learn whether your OS is activated or not. If you are allowed to store your product key/license in your Microsoft account, you should see the “Add a Microsoft account” option at the bottom of the page. You can click “Add an Account” to include your Microsoft account.
Moreover, you won’t have the option to add your Microsoft account. Well, if this is what you’re dealing with, you need to keep a copy of your product key.
Write it on a piece of paper and keep it somewhere safe. After all, you will need it if you reactivate your operating system in the future.
Also read: Stay Safe Online: The Best Ways to Store Passwords
After activating your Windows 10 copy properly, you must add the Microsoft account where you want to store your product key. Before you proceed, you must know that the process will change your local account to a Microsoft account. Here are the steps:
- Launch the Settings app by pressing
Windows key + Ion your keyboard. - Select Accounts in the Settings app.
- On the left-pane menu, click Your info.
- Move to the right pane, then click the “Sign in with a Microsoft account instead” link.
- Enter all your sign-in information.
- Click Sign in.
- Submit your current password.
- Click Next.
- You also have the option to set up a PIN for your account. To do that, click the Set a PIN button. On the other hand, you can click the “Skip this step” link to complete the procedure.
After completing these steps, you would not need to ask yourself, “How to link my Windows license to my Microsoft account?”
Also read: Quick Tips: How to Delete Microsoft Account Easily
How to Check if Your Product Key Is Linked to Your Account
If you want to verify whether your digital license has been linked successfully to your Microsoft account, you can follow the steps below:
- Go to your taskbar and click the search icon.
- Inside the search box, type “Settings” (no quotes), then hit Enter.
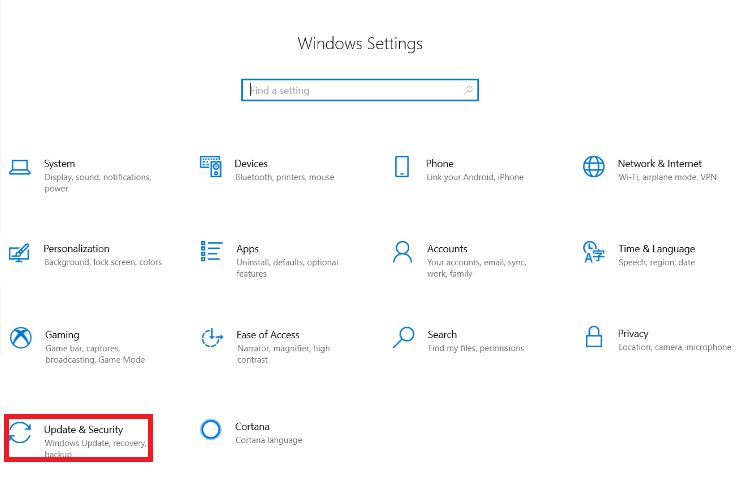
- On the Settings app, click Update & Security.
- Now, go to the menu on the left and click Activation.
If you’ve successfully linked your product key to your Microsoft account, you should see this message on the Activation page:
“Windows is activated with a digital license linked to your Microsoft account.”
Having Problems Activating Your Windows 10 Operating System?
If you weren’t able to activate your OS successfully, you should be able to see some explanation behind the problem on the Activation page. Usually, there is an error code attached to the message.
So, your best course of action is to find the appropriate solution for that error code.
However, we still recommend that you try a different network and switch to a wired connection. Once you’ve done that, you can try activating your operating system again to see if that helps.
Before you try other solutions, you should also install the latest updates for Windows 10. Usually, Windows Update downloads the updates automatically in the background. However, you can also trigger the process manually. Here are the steps:
- Right-click the Windows icon on your taskbar.
- Select Settings from the list.
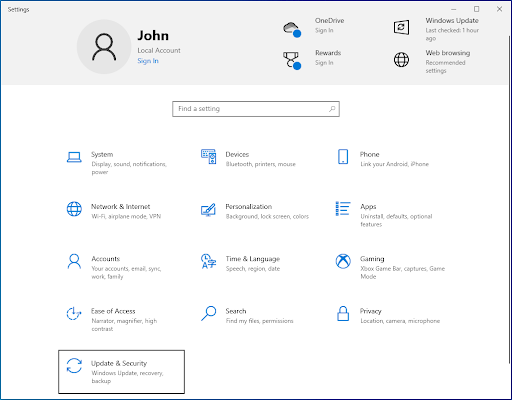
- Once the Settings app appears, click Update & Security.
- Go to the left-pane menu and click Windows Update.
- Move to the right pane and click the Check for updates button.
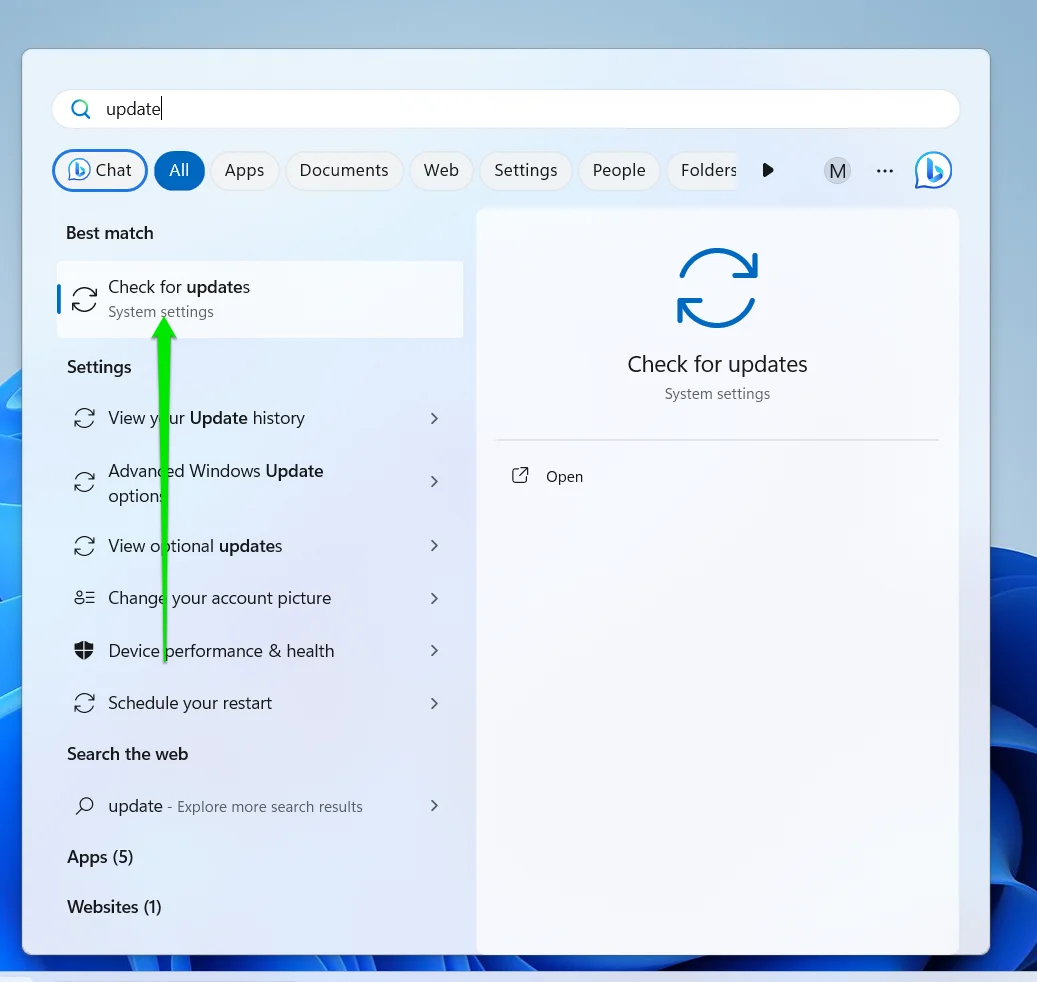
- If Windows Update finds available updates, download them.
- Once your system has downloaded all the updates, restart your computer to begin the installation process.
Also read: Ultimate Guide: How to Manually Check and Install Windows Updates
After updating your operating system, you can try to activate it again to see if the issue is gone. On the other hand, if you have a legitimate license key and yet something seems to interfere with the process, we suggest that you run a deep scan of your computer.
What’s more, it was designed by a certified Microsoft Gold Application Developer.
So, you can be sure that it won’t interfere with any service or process on your system.
How to Link a Windows 10 Product Key to a Microsoft Account: Explained
In conclusion, linking your Windows license to a Microsoft account really does simplify the reactivation process, especially after hardware changes. By following the steps outlined in this guide, you can keep your digital license securely connected, making future activations hassle-free.
If you encounter any issues, the troubleshooting tips provided should help you resolve them quickly.
Stay updated, stay secure, and enjoy a smoother Windows experience.
Tell us how we can improve this article by sharing your suggestions in the comments below!
