If your storage space is getting full, one of the ways to declutter your system is to remove duplicates. I’ll show you the best way to find duplicate files and photos and delete them safely. Keep reading… Duplicate files and photos do nothing but take up space, slow down your computer, and make it harder to find the originals when you need them. While a few extra files may seem harmless—especially on a 500GB or 1TB hard drive—they can pile up over time. I take a lot of screenshots as a tech writer, and I used to ignore them too. But eventually, those seemingly small 500KB images, along with other large files, turned organizing my PC into a chore. If you’re in the same boat, don’t worry—I’m not here to judge. Instead, I’ll show you how to easily find and delete duplicate files (including photos) so you can free up space and keep your system clutter-free. Let’s begin.
A Few Reasons Why It Is Useful to Remove Duplicate Files
Below are some common reasons why you need to clean your workspace from duplicates:
- Save your storage space. Too many duplicate files take up a lot of space on your hard drive. The more you ignore them, the more your system gets littered with them.
- Improve your PC performance. Cluttered storage tends to slow down PCs.
- Reduce clutter and stay organized. Deleting duplicates makes it easy to find any document and photo and organize them. And this can save you time.
If you want to take control of your storage space, make it easy to manage your files, and overall improve your computer performance , carefully go through the next section. I’ll show you ways to achieve these advantages.
How to Find Duplicate Files and Photos and Delete Them on Windows 11/10
In this section, I’ll walk you through ways to find duplicates and remove them, starting from the easiest to the more techy method:
Method 1: Use third-party software to remove duplicate files
There are several tools available to help you easily find duplicate files and photos on Windows 11 and 10 almost instantly, like Auslogics BoostSpeed , CCleaner Duplicate Finder , Duplicate Cleaner , and dupeGuru . To make a comprehensive decision about which tool to choose, we have listed some crucial points to consider.
| Feature |
Auslogics BoostSpeed |
CCleaner Duplicate Finder |
Duplicate Cleaner |
dupeGuru |
| Accuracy of detection |
- Advanced algorithms detect renamed files (via EXIF/ID3 tags)
|
- Finds duplicates by name & size
|
- Deep scan for files, images, and music
|
- Scans by filename, content, and music tags
|
| Ease of use |
- Simple interface with step-by-step options
- Quick search available
|
- One-click scanning
- Beginner-friendly
|
- Intuitive, but advanced features need configuration
|
- Basic interface
- May require technical knowledge
|
| Speed |
- Fast scanning with optimization tools
|
- Quick scanning but limited depth
|
- Deep scans take time but are highly accurate
|
- Moderate speed, but effective content-based scan
|
| Photo-specific features |
- Finds duplicate & similar photos
|
- Basic duplicate photo detection
|
- Finds duplicates & similar images
- Custom filters
|
- Good for photo metadata but not visual similarity
|
| Additional features |
- 30+ PC optimization tools: deep disk cleanup, disk defragmenter, registry cleaner, privacy protection, etc.
|
- System cleaner
- Software updater
|
- Advanced filtering
- Preview
- Duplicate management
|
- Cross-platform (Windows, Mac, Linux)
|
| Pricing |
- Free version
- Premium: $34.44 for 3 PCs/year
|
- Free version
- Premium starts from $59.95 (one year/3 devices) to $159.95 (2 years/5 devices)
|
- 7-day free trial
- Premium: $40–$45
|
|
| Pros |
- Advanced duplicate detection
- Simple one-click cleaning of other files
- User-friendly
- Extra PC optimization features
|
- Simple one-click cleaning
- Affordable
- Easy to use
|
- Highly accurate, customizable search
- Deep scanning
|
- Open-source
- Works across multiple platforms
|
| Cons |
- Premium version required for full functionality
- Lacks some advanced tools for duplicate file search
|
- Limited deep scanning
- Not the most accurate
|
- The interface may be overwhelming for beginners
- Some features are behind paywall
|
- Basic interface
- Fewer updates
|
Key takeaways & recommendations:✅ Best for general use:Auslogics BoostSpeed (offers duplicate removal + PC optimization). ✅ Best free option:dupeGuru (open-source, works on Windows, Mac, and Linux). ✅ Best for advanced users:Duplicate Cleaner (highly customizable, deep scanning).
✅ Best for quick & simple use:CCleaner Duplicate Finder (easy one-click scanning). As an example of how to find and delete duplicate files and photos, we will use Auslogics BoostSpeed. This tool is not just a duplicate file finder but also a comprehensive system optimization solution that combines powerful cleaning features with ease of use.
You can also delete other stuff taking up space on your computer, such as temporary Windows and internet files, Windows Update files, system files, and more.
Here’s how to delete duplicates in Windows 11 and 10 using Auslogics BoostSpeed:
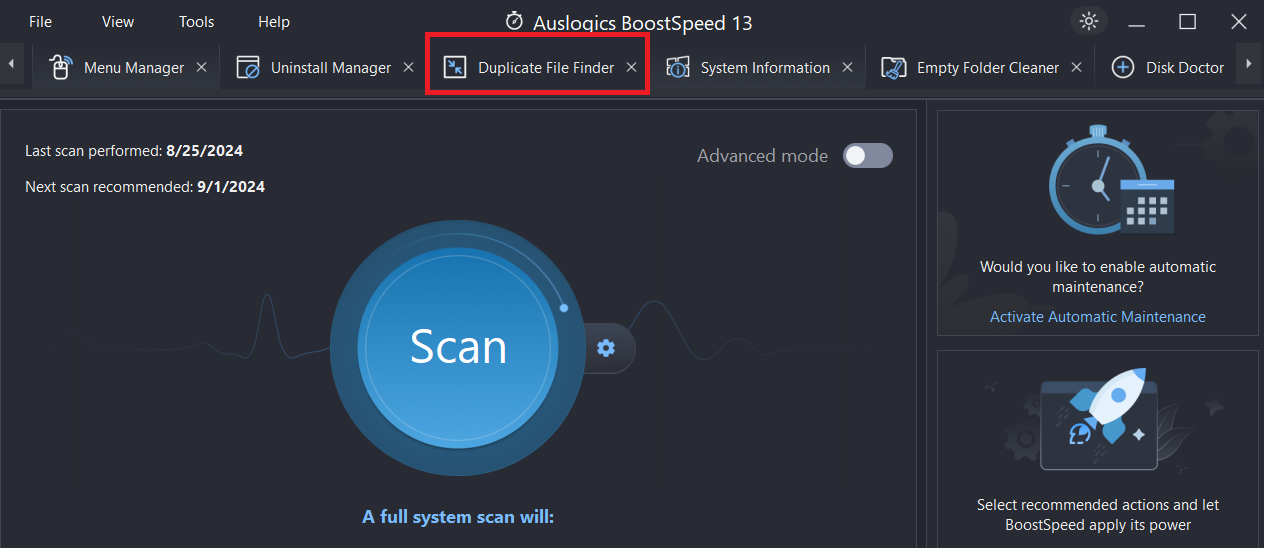
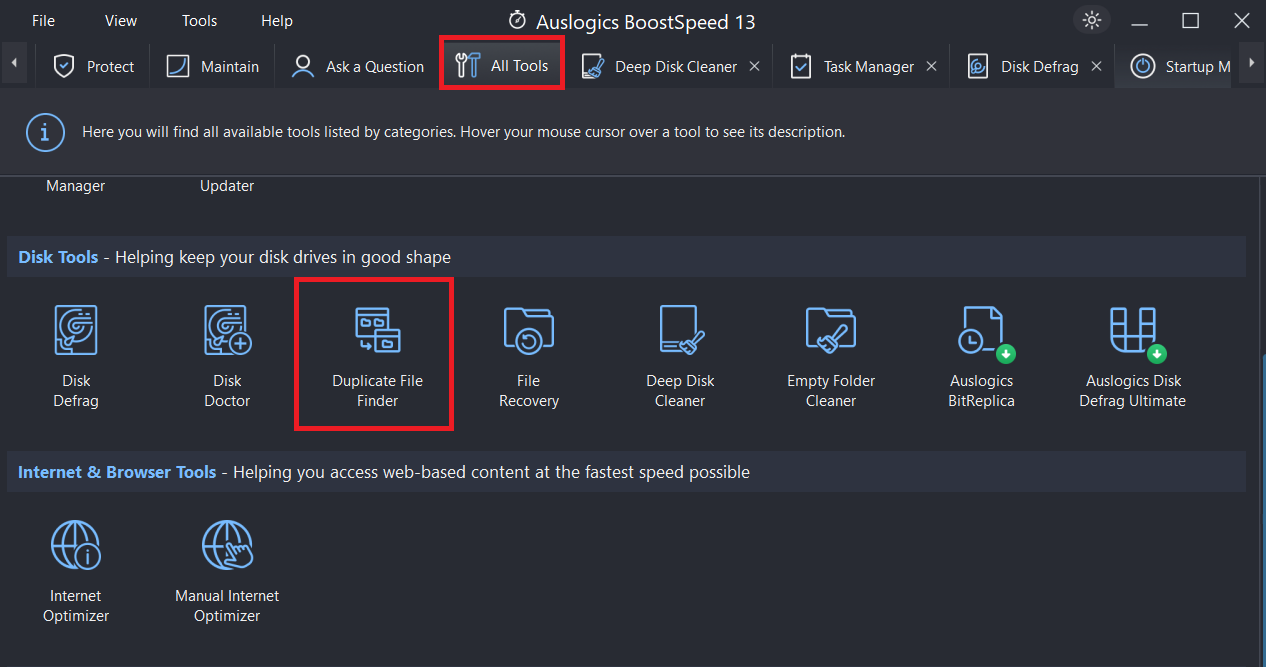
- If you can’t find the bar, click on All Tools and select Duplicate File Finder.
When the window opens, choose the drive you want to scan (if you have multiple drives) and select the files you want to search for. It can be videos, audio, images, etc. After that, click Next .
When you tick the
Use EXIF and ID3 tags for searches option, BoostSpeed will be able to find
duplicate photos and audio files even if you’ve renamed them, based on the EXIF and ID3 data. So, you will get a different result.
EXIF (Exchangeable Image File Format) tags are metadata embedded in image files and include details like the date and time a photo was taken. ID3 tags are metadata in audio files and may have information like title, artist, or album name. So, this option only works when searching for images and audio files.
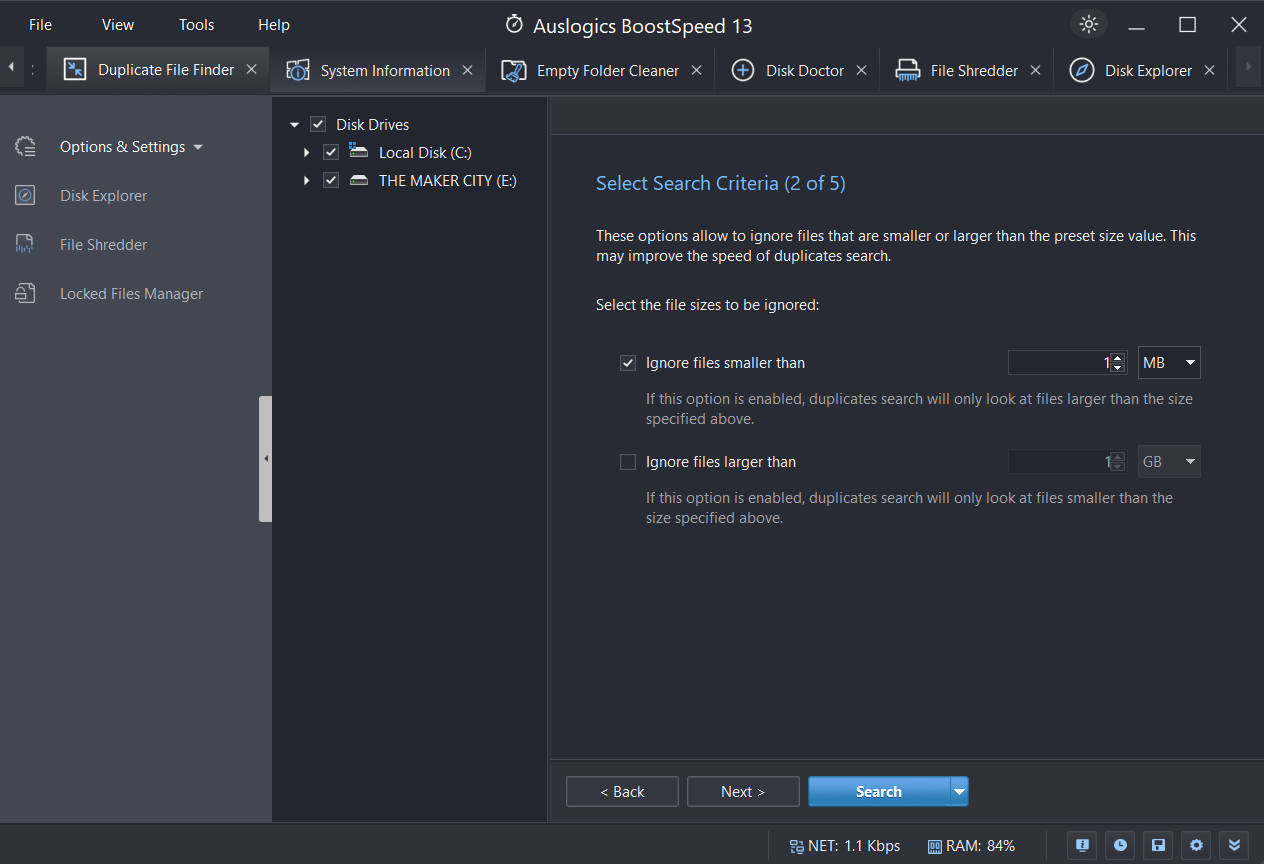
- In the next step, you can choose the file sizes you want to ignore in megabytes, gigabytes, and kilobytes. When you’re done, select Next .
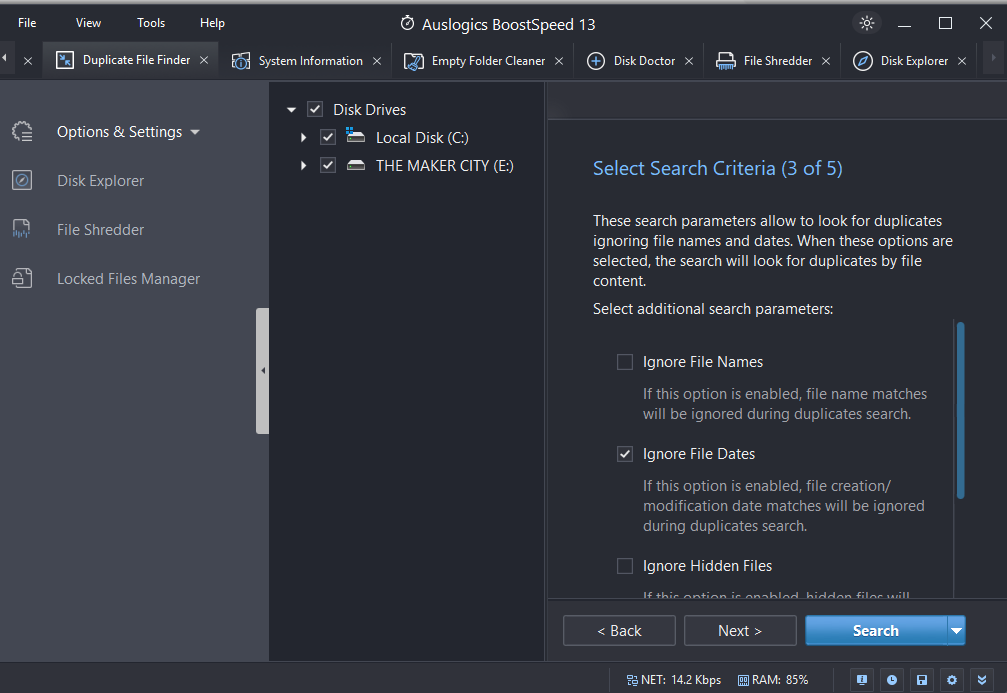
- You have the option to ignore file names, file dates, and even hidden files. When you check the Do not search in subfolders box, the search will only focus on the folders but not the folders within them. Click Next .
- Here, you get to narrow down your search to get the most accurate results. If you’re searching for a specific file but you don’t remember the name, but only part of it, you can enter it here. Choose Next after that.
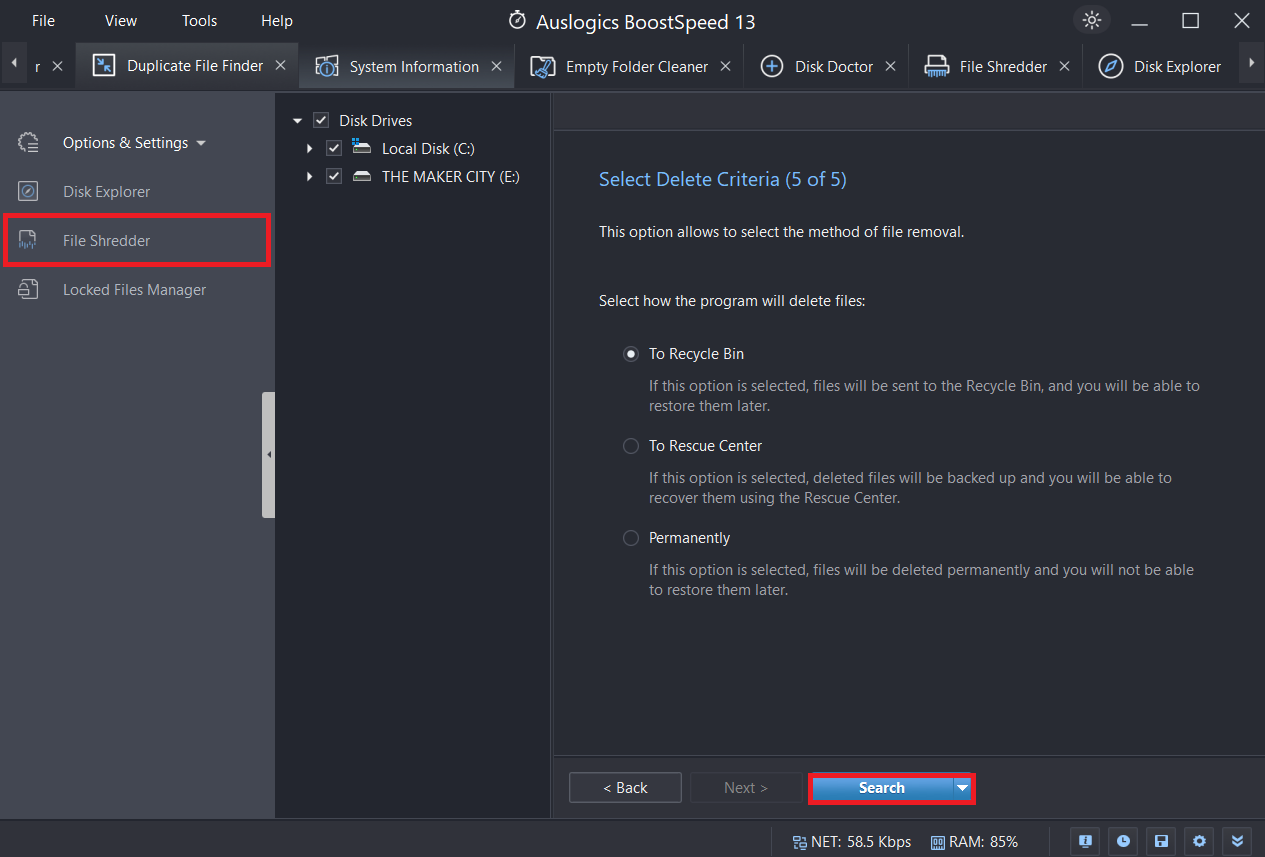
- Finally, you can decide how BoostSpeed should discard the duplicates. You can choose to delete it permanently or send it to the Recycle Bin. However, if you select To Rescue Center , it’ll back up the deleted files to recover them at a later date.
- Click Search to start the scan and wait as the software does its magic.
Note
That said, if you want to permanently delete files, especially those that contain sensitive information, you can use
File Shredder . You’ll find it on the left side under
Options & Settings .
PRO TIP
If you don’t want to go through all these five steps, just click on Search, and BoostSpeed will use the default settings to search for duplicates. After the scan, you’ll get the results and decide which ones to delete.
Auslogics BoostSpeed is more than just a tool for removing duplicate photos and files.
It also helps you delete other clutter from your PC, including temporary files, old Windows update files, and leftover data from uninstalled programs and apps. Additionally, it can defragment your drives and clean the registry. Overall, you get a fully optimized PC, ready for a longer lifespan.
Method 2: Use Windows File Explorer to find and delete duplicates
You can use the built-in File Explorer to sort your files and photos, find duplicates, and delete them from your Windows PC. Here is how: Step 1: Enable indexing for faster search
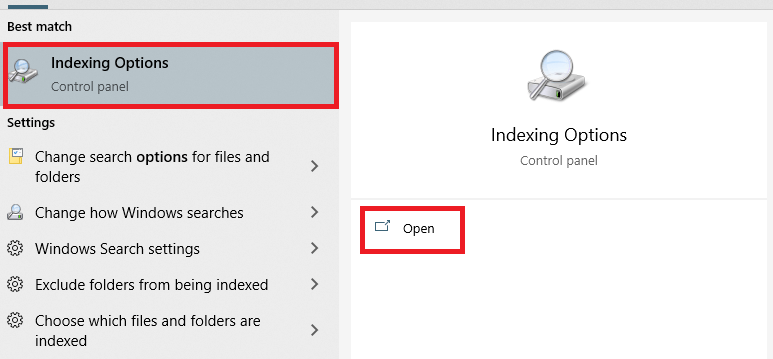
- Press the
Windows logo key + S keyboard combination to open the search bar.
- Type in indexing options . Then click Open in the right-side menu.
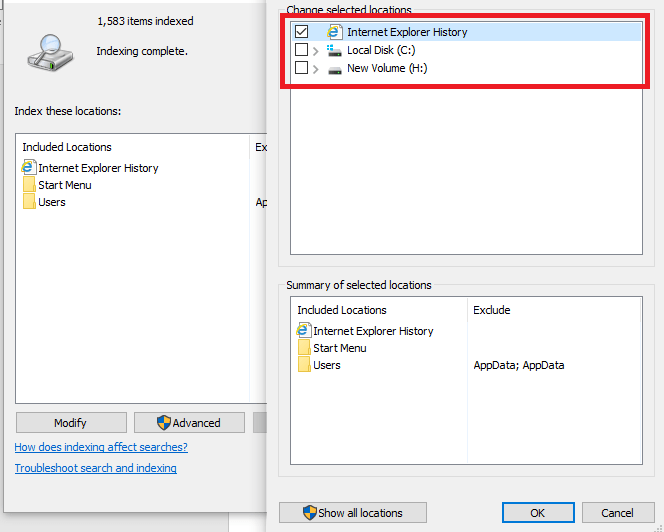
- Click on the Modify button.
- When a new window opens, select Show all locations .
- Go to the Change selected locations section and select every checkbox. Then click on the OK button.
Step 2: Sort files by name to identify duplicates
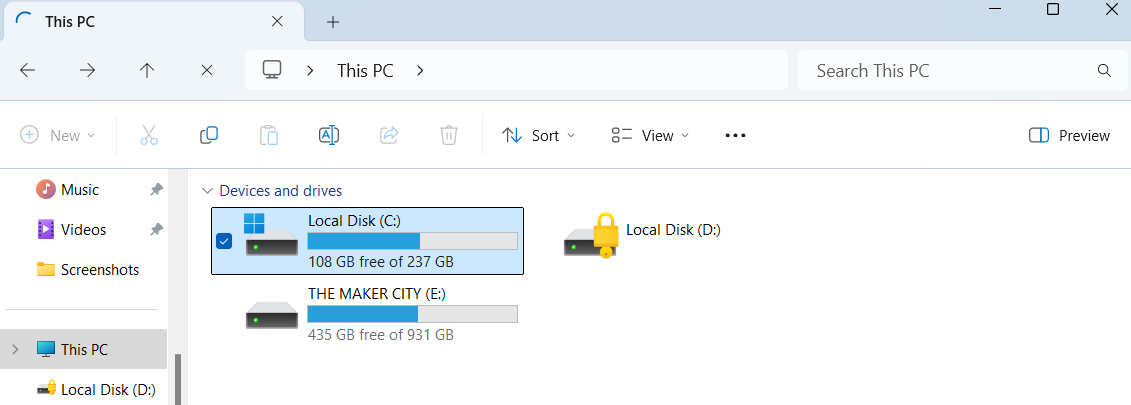
- Open File Explorer (
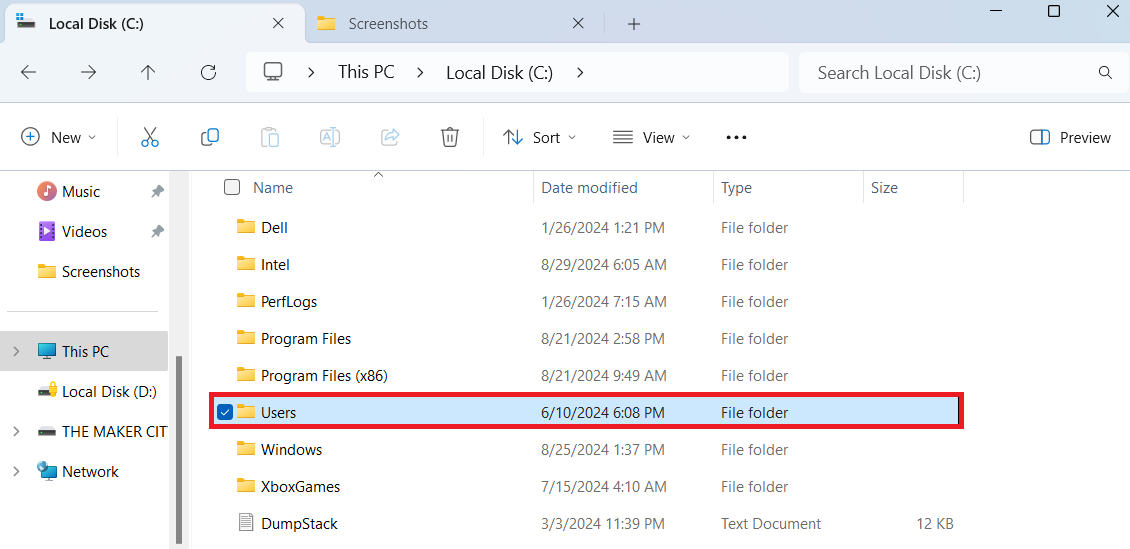
Win + E) and select This PC on the left menu pane.
- Then, go to Local Disk (C:) and open the Users folder.
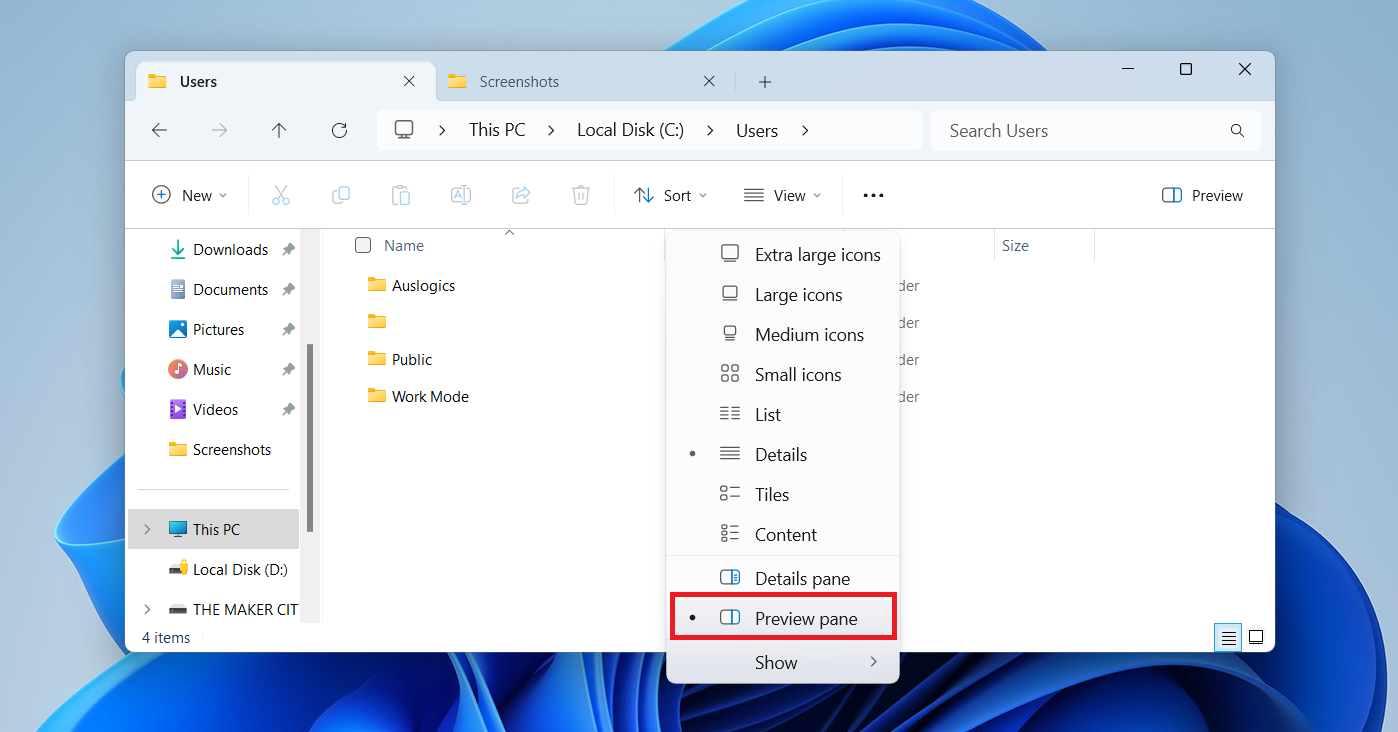
- Open the View tab at the top of the window and select Preview pane .
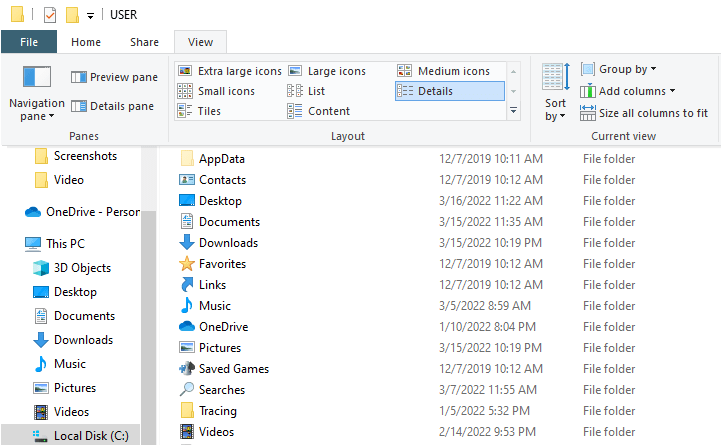
- In the Layout section, choose Details to display file details.
- Open the Current view tab and click on the Group by dropdown arrow. Choose Name from the menu and then select Ascending .
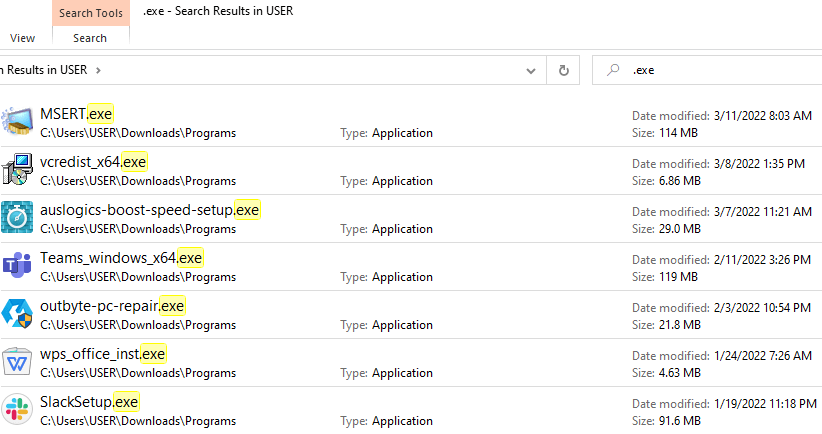
Step 3: Search for duplicate files by file type
- Now go to the search bar in the top-right corner of the screen and type in the extension for the duplicate files you want to delete. For instance, if you want to find duplicate JPEG images, type in .jpg and press
Enter.
- The next step is just manually evaluating the list of duplicate photos and files and deleting the chosen ones.
Here is a list of file extensions that you could use to help simplify the process:
| Images |
.gif, .jpeg, .png, .jpg |
| Videos |
.mp4, .mov, .avi, .flv, .3gp, .wmv |
| Mp3 |
.wma, .mp3, .wav |
| Documents |
.pdf, .txt, .docx, .doc |
| Programs |
.exe |
| Presentations |
.pptx, .ppt |
| Excel files |
.xls, .xlsx |
Limitations of this method:
- No automatic duplicate detection: Windows File Explorer doesn’t compare file contents—only names. If duplicates have different names, they won’t be detected.
- Time-consuming: Sorting and manually deleting files can be tedious, especially with large amounts of data.
- Risk of mistaken deletion: Similar but not identical files (like different versions of a document) might be deleted accidentally.
Method 3: Use the Windows Photos app to find duplicate photos
These steps will help you to delete duplicate photos from your system using the Photos app:
- Type Photos in the search bar and select the Photos app.
- Your photos are automatically organized by date. To sort them differently, use the Sort by dropdown menu and select File name or Size.
- Browse your photo library and check the boxes next to each duplicate photo you want to delete. Hold down the Ctrl key and click on multiple images to select them all at once.
- Right-click on the selected photos and click Delete.
PRO TIP
Additionally, I want to point out that while the Windows Photos app is useful for manually finding and deleting duplicate photos, it does not have a built-in feature to automatically detect them. You must visually identify duplicates, which can be time-consuming and prone to errors. For a faster and more efficient cleanup, consider using a PC cleaner like
Auslogics BoostSpeed
How to Delete Duplicate Files and Photos: Explained
Duplicates can quickly take up valuable space on your PC if you don’t keep them in check. In this article, I’ve covered several ways to find and delete them, but some methods, like File Explorer and the Windows Photos app, can be tedious and time-consuming, especially if you have a large number of duplicates.
For a faster and more efficient cleanup, using a PC cleaner or a duplicate photo/files finder is the best option. Tools like Auslogics
BoostSpeed’s Duplicate File Finder can simplify the process and save you time.
What do you think? Was this guide helpful? Share your thoughts in the comments below!
FAQ
Yes. You can do that, but this method is time-consuming and isn’t 100% accurate. Windows does not have a built-in tool specifically for detecting duplicate photos, so you’ll need to manually find and delete them using File Explorer or the Windows Photos app. Third-party tools, such as
Auslogics BoostSpeed or
Duplicate Cleaner , are more accurate.
Yes. You can use file recovery tools to restore your photos.
Auslogics BoostSpeed includes a recovery feature, allowing you to delete duplicate photos and recover them if needed.
The fastest way is to use a duplicate photo finder tool.
Auslogics BoostSpeed’s Duplicate File Finder and other similar tools like
Duplicate Cleaner use advanced algorithms to scan and remove duplicate photos efficiently.
Yes, in most cases, deleting duplicate files is safe and helps free up disk space. However, be cautious when deleting system or program files, as some may be required for Windows or applications to function properly. Always review the duplicates before deleting them.
Duplicate files often have the same name, size, and content. Some may have - Copy or a number appended to the filename. However, metadata differences can make some duplicates harder to spot manually, so using a duplicate file finder tool is recommended.
Manually searching through multiple folders is time-consuming and inefficient. The best solution is to use duplicate file finder tools, which scan multiple locations and identify duplicate files automatically.