Thanks to Bluetooth technology, people are able to connect several devices to their Windows 10 computer wirelessly. You can use it to transfer your files or to operate electronic devices, including wireless headsets, gaming consoles, and other computer peripherals. While Bluetooth has certain limitations, like lower bandwidth than Wi-Fi and a shorter range, it can still provide a reliable connection between your devices.
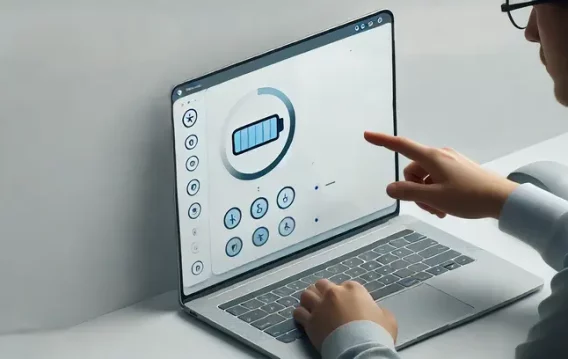
Now, if you are using Bluetooth devices like a keyboard, stylus, mouse, or headset, you would want to know if their battery levels are still sufficient. If you’ve installed Windows 10 version 1809—also referred to as the October 2018 Update—you will be able to check your Bluetooth peripherals’ battery levels, using the Settings app. Keep in mind that you can only do this if your device supports the feature.
In this post, we will teach you how to check a Bluetooth device’s battery level in Windows 10. Make sure that you have the Windows 10 version 1809 installed on your PC. Once you’ve done that, you can proceed to the steps below.
How to Check a Bluetooth Device’s Battery Level in Windows 10
- Launch the Settings app by pressing Windows Key+I on your keyboard.
- Select Devices.
- Go to the left-pane menu, then click Bluetooth & Other Devices.
- Now, move to the right pane and go to the Mouse, Keyboard, & Pen section.
- Select your Bluetooth device. Once you’ve done that, you should see a battery percentage indicator beside your device.
If you’ve followed the steps above yet you still do not see a battery indicator, then it means you are not running the latest version of Windows 10. It is also possible that your Bluetooth device does not offer support for this feature.
Pro Tip: To ensure that your Bluetooth devices are prepped for this feature, we recommend that you update their drivers. The great thing about performing this maintenance procedure is it also resolves a wide range of PC performance issues. When it comes to updating your drivers, you have three options:
Accessing the Device Manager
- Open the Run dialog box by pressing Windows Key+R on your keyboard.
- Once the Run dialog box is up, type “devmgmt.msc” (no quotes).
- Open the Device Manager by clicking OK.
- Expand the contents of the Bluetooth category.
- Right-click your Bluetooth device, then select Update Driver from the options. Make sure you repeat this step on every Bluetooth peripheral device you’re using.
Visiting the Manufacturer’s Website to Download the Drivers
It is true that it takes a few clicks to update your drivers, using the Device Manager. However, this method can be unreliable because it can miss the latest version of the drivers. So, you might still end up visiting the manufacturer’s website to download and install the right driver versions. However, you must be careful when using this method. Keep in mind that installing an incompatible driver will cause system instability issues.
Using Auslogics Driver Updater
The safest and most convenient method for updating drivers is using Auslogics Driver Updater. Once you’ve installed this tool, it will identify what Windows version and type of processor you have. Moreover, all you have to do is click a button, and all your drivers will be updated automatically. Auslogics Driver Updater will look for the latest, manufacturer-recommended drivers for your computer. After the process is done, you will notice a significant improvement in the performance of your Bluetooth devices. Overall, your PC will also function more efficiently.
What do you think of the new Bluetooth Battery Level feature?
We’d love to hear your thoughts. Join the discussion below.